Quality Assurance
We assure to deliver furnish superior quality products with consistency at economical price. We tend to follow the quality management principles. We have developed work plans and quality objectives to meet our best quality requirement for our customers. By timely reviewing and monitoring the production process, we follow the quality control norms. This helps us to upgrade our quality process to extreme levels. Our product manufactured goes through various tests procedures in order to deliver the product with the utmost quality.
Quality Team
We have a team of highly efficient and professionals who are expert in their field of work. They work in full cooperation with other members which helps us to carry forward our business in a good flow. As new market trends and working strategies keeps on changing with the pace of time, our team keeps them updated which helps them to conduct market survey properly and work accordingly to fulfill client’s requirement.
Our Quality Assurance Test
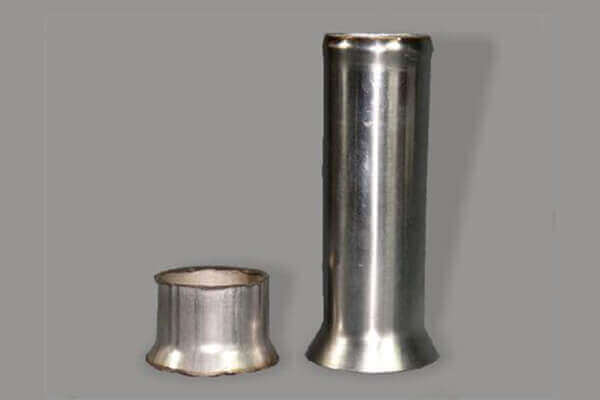
The Flaring test serves to establish the forming behaviour of tubes & pipes which are expanded to a specific degree in respect of O.D. This test is carried out in conformation to the international standards.
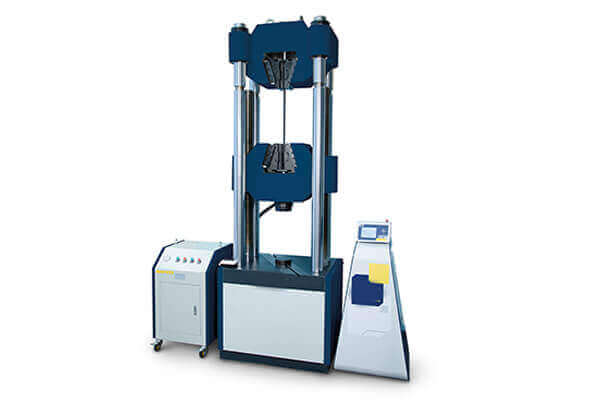
A sample of tube or pipe in 4" length shall be flattened cold between parallel plates in two steps. The weld shall be placed at 90° from the direction of the applied force. The first step is a test for ductility, no cracks or breaks on the inside surfaces acceptable. During the second step, which is a test for soundness, the flattering shall be continued until the specimen breaks or the opposite walls of the specimen meet.
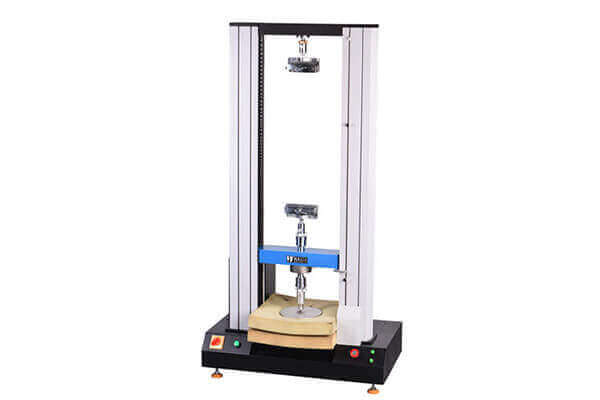
Samples from each lot of continuously heat-treated tubes & pipes are tested to ensure that the hardness is well within specified limits.
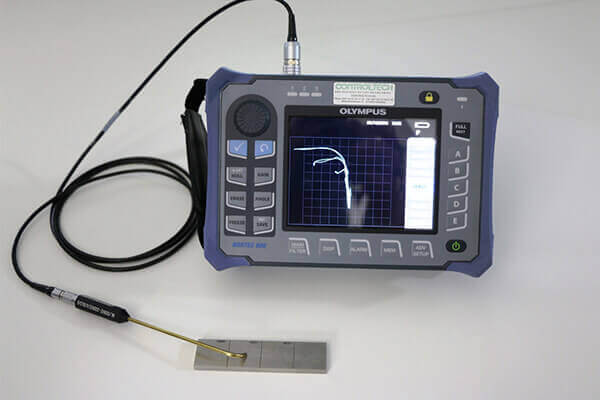
This test is carried out to detect any micro-cracks or inhomogeneities in the material, by using the test procedure as described in ASTM E-426 & SEP 1914.
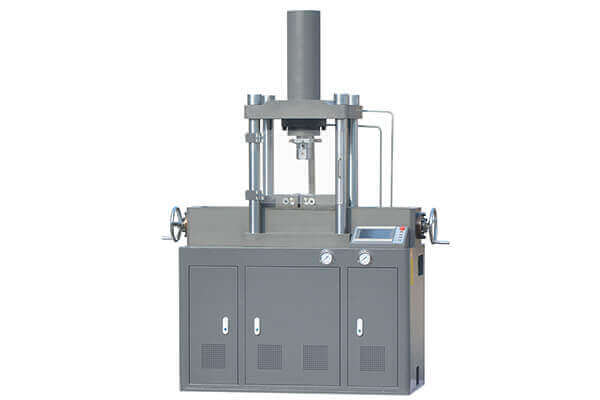
A Sample of 4" in length shall be split longitudinally 90° on each side of the weld. The sample shall then be opened and bent around a mandrel with a maximum thickness of four times the wall thickness, with the mandrel parallel to the weld and against the original outside surface of the tube. The weld shall be at the point of the maximum bend. There shall be no evidence of cracks or overlaps resulting from the reduction in thickness of the weld areas by cold working.
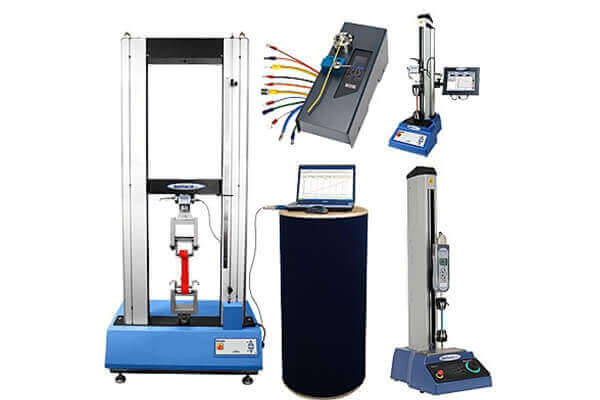
The tensile test serves to determine the strength and ductile characteristics of the tubes & pipes i.e., yield strength, tensile strength and % elongation.
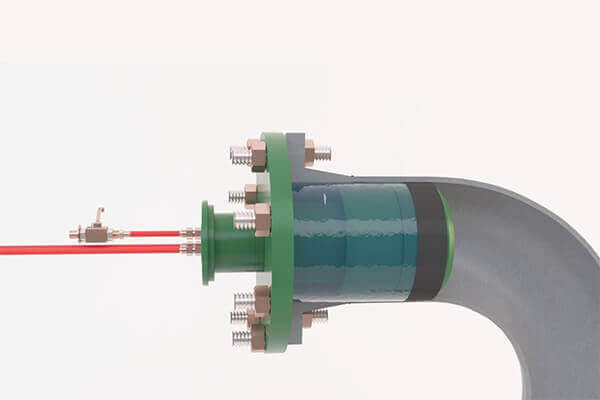
All tubes & pipes manufactured by "SANTOSH" are Hydrostatic Pressure tested as per required specification. Our Hydro-static pressure testing machine is capable of carrying out pressure test upto 6000 psi.
If required, customer or deputed inspection agency can witness 100% Hydro-static pressure testing at our plant. The products can also be supplied with third party inspection like Lloyds, SGS, BVQL, PDIL, TUV etc..